
Gather these ingredients:
- 1 1/2 cups all purpose flour
- scant 1/2 tsp salt
- 1 Tbs. sugar
- 6 Tbs. really cold butter cut into cubes
- 3 Tbs. cold vegetable shortening
- 4 Tbs. ice water

Dump the flour into your food processor fitted with the standard blade. Add the salt and sugar and pulse to combine. No food processor, no problem. Just gently mix with your hands or use two knives in a cutting motion to mix the ingredients.


Add the ice cold butter and shortening...

...and pulse, checking every few pulses, until the mixture looks like powdery gravel.

Sprinkle in your ice cold water and pulse a few more times until the dough comes together a little bit. DO NOT OVER MIX. Here's the part that separates the pie-making men from the boys. Grab a handful of dough and squeeze it together. If it holds together, you're there. If it's still dry and crumbly add a little more water and mix till it gets like this...

Dump the whole kit and kaboodle onto a clean counter top like this...

...then gather it up and pat it into a nice disc like this...

DO NOT OVER HANDLE OR KNEAD THE DOUGH (LIKE YOU WOULD WITH BREAD DOUGH).
Sorry to yell at you but the idea is to bring it together with as little handling as possible to keep all of those lovely little chunks of fat in tact, not thoroughly incorporated. This is what will make your crust flaky and tender.
Now wrap it in plastic wrap, a Zip-lok or waxed paper and let it rest for about a half hour or so in the fridge. This is not optional. Why? Glad you asked. The dough must "rest" in order for the liquid to distribute through the dough, the fat to refirm-up and the gluten to relax.

So, it's been at least a half hour. Now it's time to roll out your dough. Unwrap the dough, place it on a cool, lightly-floured counter top, sprinkle it with a little more flour (just enough so it does not stick).

Begin to roll it out, starting at the center and working toward the edge. Continue to sprinkle with flour (just a little) if it begins to stick. Turn the dough and/or the the angle of your rolling pin as you go in order to form a nice circle of flattened dough just larger than your pie dish. No rolling pin...no problem. Use a wine bottle.

Gently roll the dough back onto your rolling pin...

...lift and ease it into your pie dish.


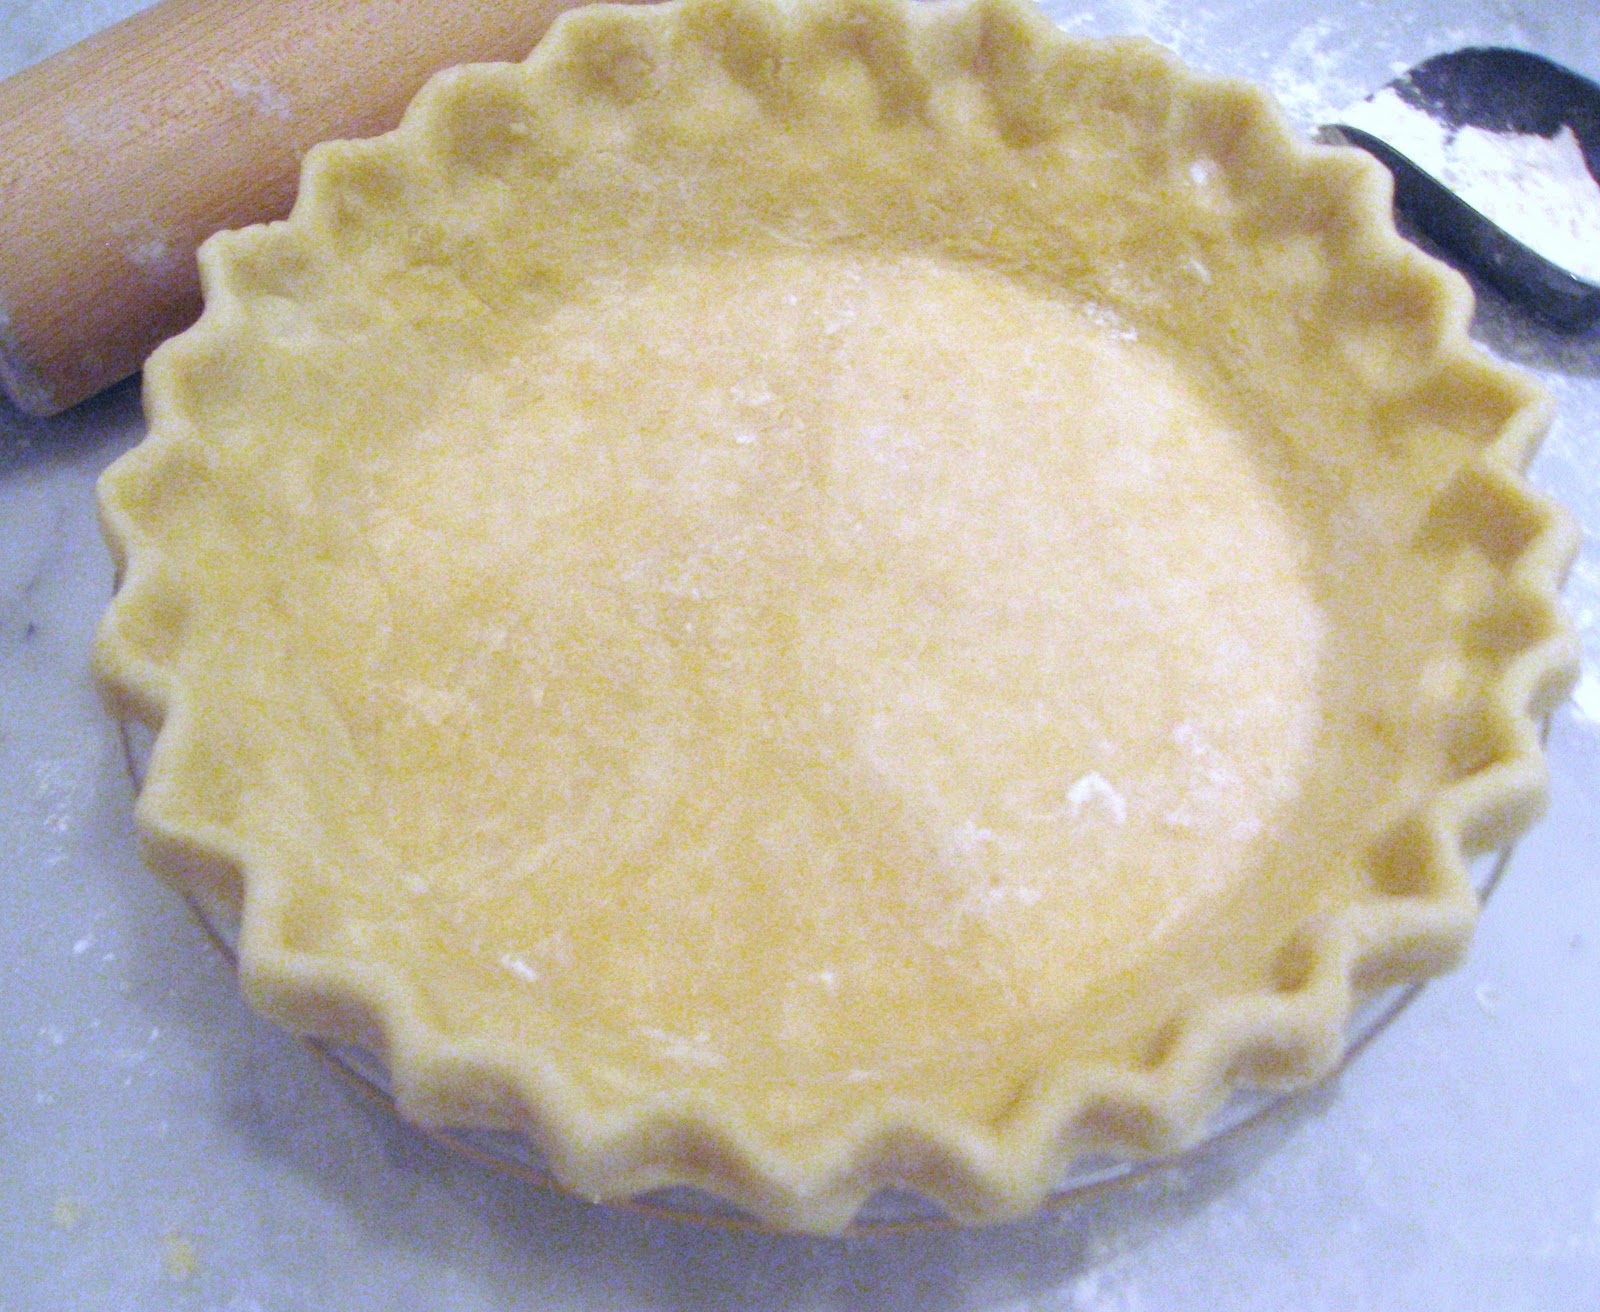
Pop it back in the fridge again to firm up a bit and you're good to go.
For the pumpkin pie pictured above, I just use the recipe right off the back of the Libby's Pumpkin can! I've tried a million (OK maybe not a million) other versions and like this one the best!
For a double crust pie...double the recipe! Roll out two discs, one a little bigger than the other. Put the smaller one in the dish, fill with your desired filling, place the larger disc over top, gently pinch the top and bottom edges together and make whatever pretty little edge strikes your fancy. Again, I usually go for the old standard pictured above.
GO FOR IT! And, let me know how it goes.


